

Prerequisite: the Build Agent only creates field mappings when the field-mapping skill is attached to your integration. Add it to your organisation’s library and attach it when building — see Skills.
With the skill attached, ask the Build Agent to create field mappings for your integration and the Field Mapping tab appears automatically.
Opening the mapper
Open the Field Mapping tab, then pick a mapping from the dropdown at the top. The canvas shows your source fields on the left and destination fields on the right, with the mapping between them.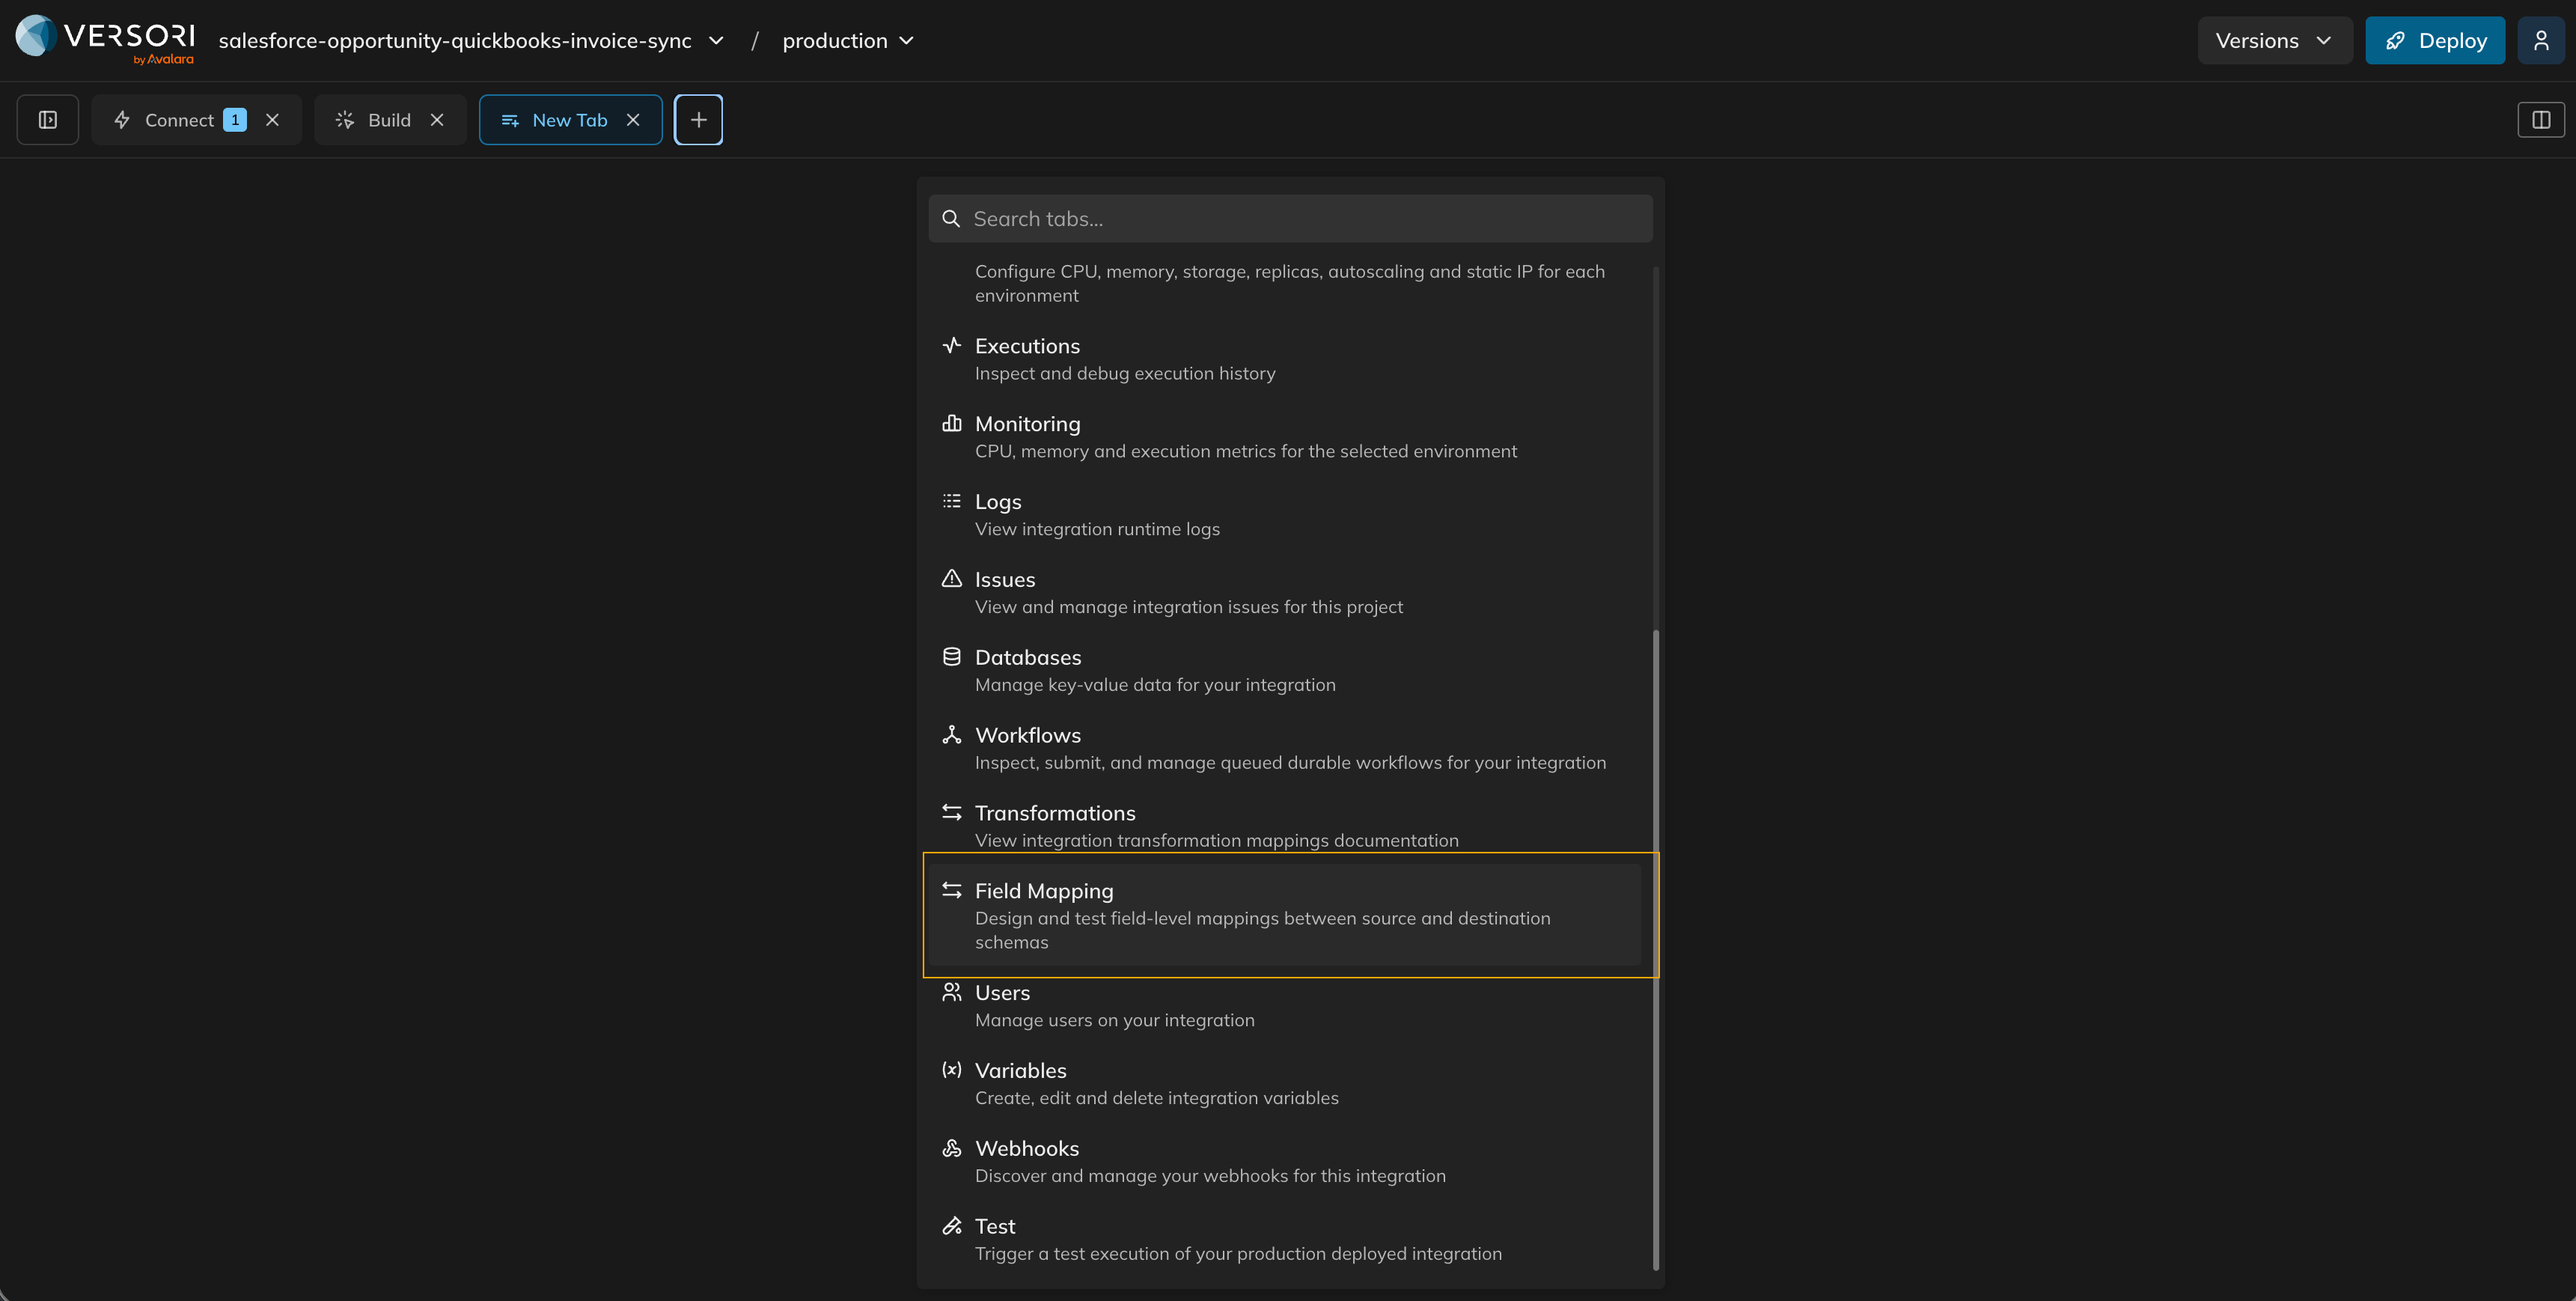
The Field Mapping tab alongside Build, Connect, and the other workspace tabs
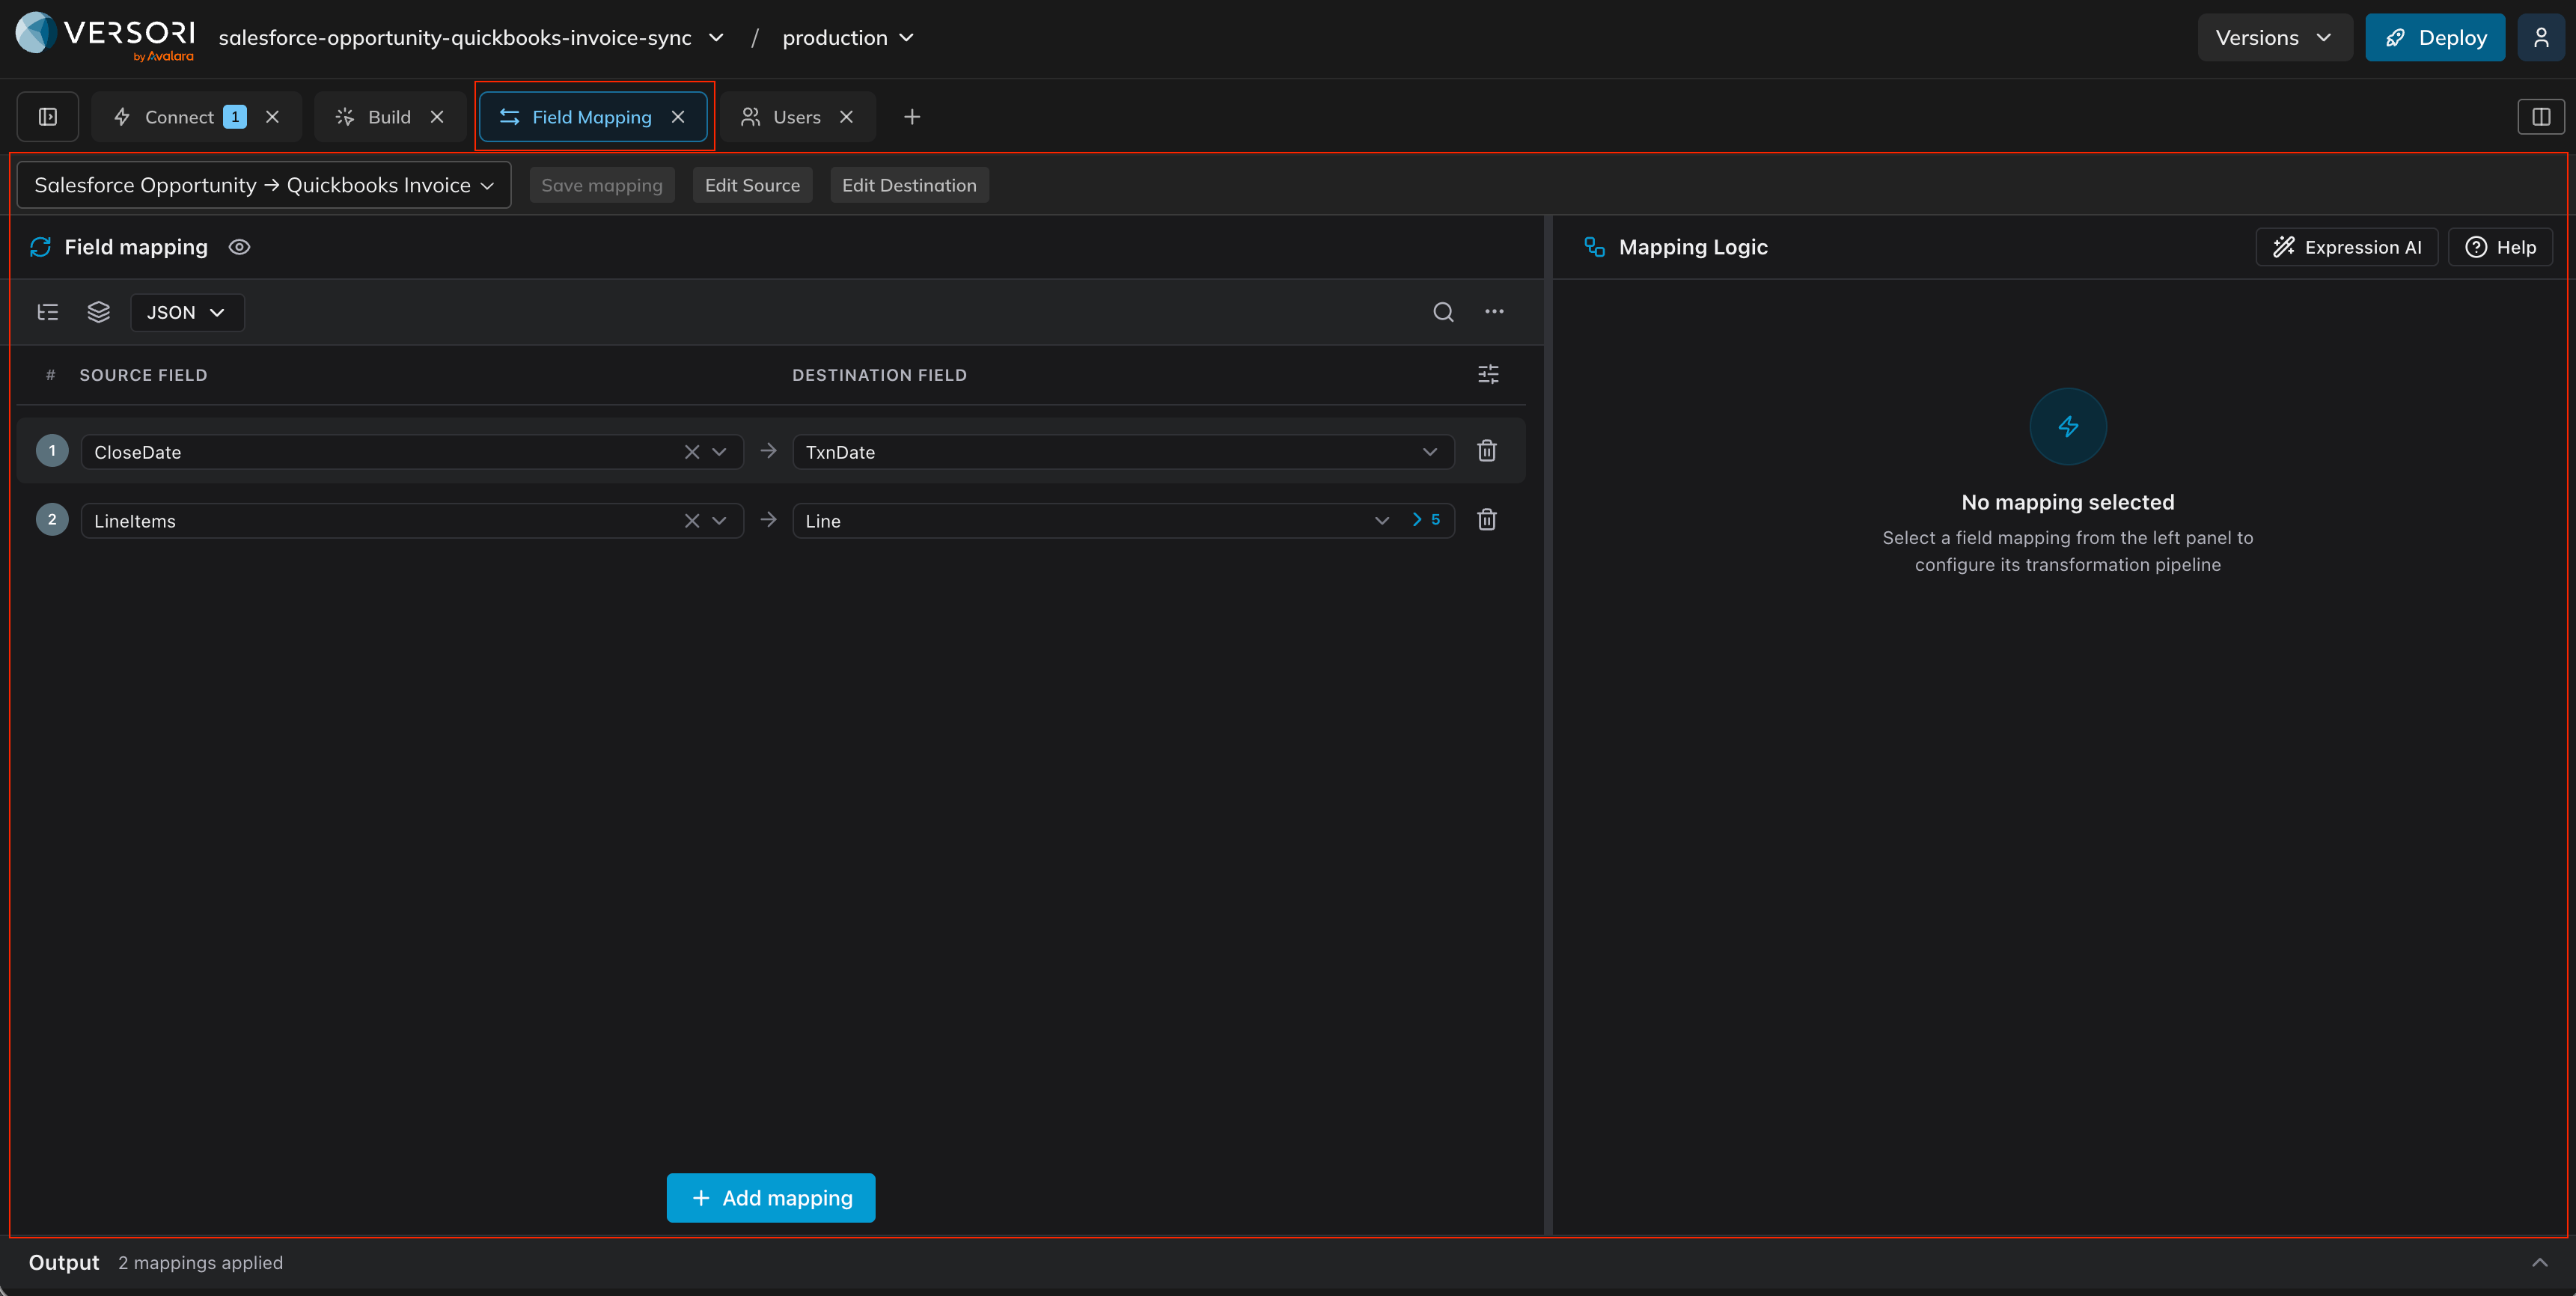
The mapper canvas, with source fields on the left and destination fields on the right
Guided walkthrough
The quickest way to learn the mapper is the built-in tour.Click the eye iconnext to Field mapping on the left to launch a guided tour that steps through every feature. The Help icon in the top-right opens the reference documentation.
Adjusting the source and destination schemas
The mapper derives its fields from sample JSON for each side. Use Edit Source and Edit Destination to change those samples in a field-tree editor — add, rename, retype, or remove fields. When you save, the mapper rebuilds the field tree and reconciles your existing mappings against it; if an edit would drop a field that a mapping still uses, you’ll be warned first.AI assistance
Two AI helpers are available, both powered by the Build Agent with your project’s context:- Expression AI — describe what you want and it generates a single JSONata / JSON-formula expression for a field.
- AI Pipeline — generates an ordered transformation pipeline for a mapping (e.g. format a date, then uppercase).