This section provides an overview of how to authenticate with Versori APIs, including the different authentication methods available and how to use them.

Signing Keys

The first step is that you should generate a signing key for your organisation. These can be generated by clicking on the My Account button and then the View Account button. On the signing keys tab you can create a new key using the button. On key creation, you will be able to copy or download your private key as a .pem file. Note that once you leave the page, you will be unable to view your private key ever again. You should keep the private key secret, obviously!
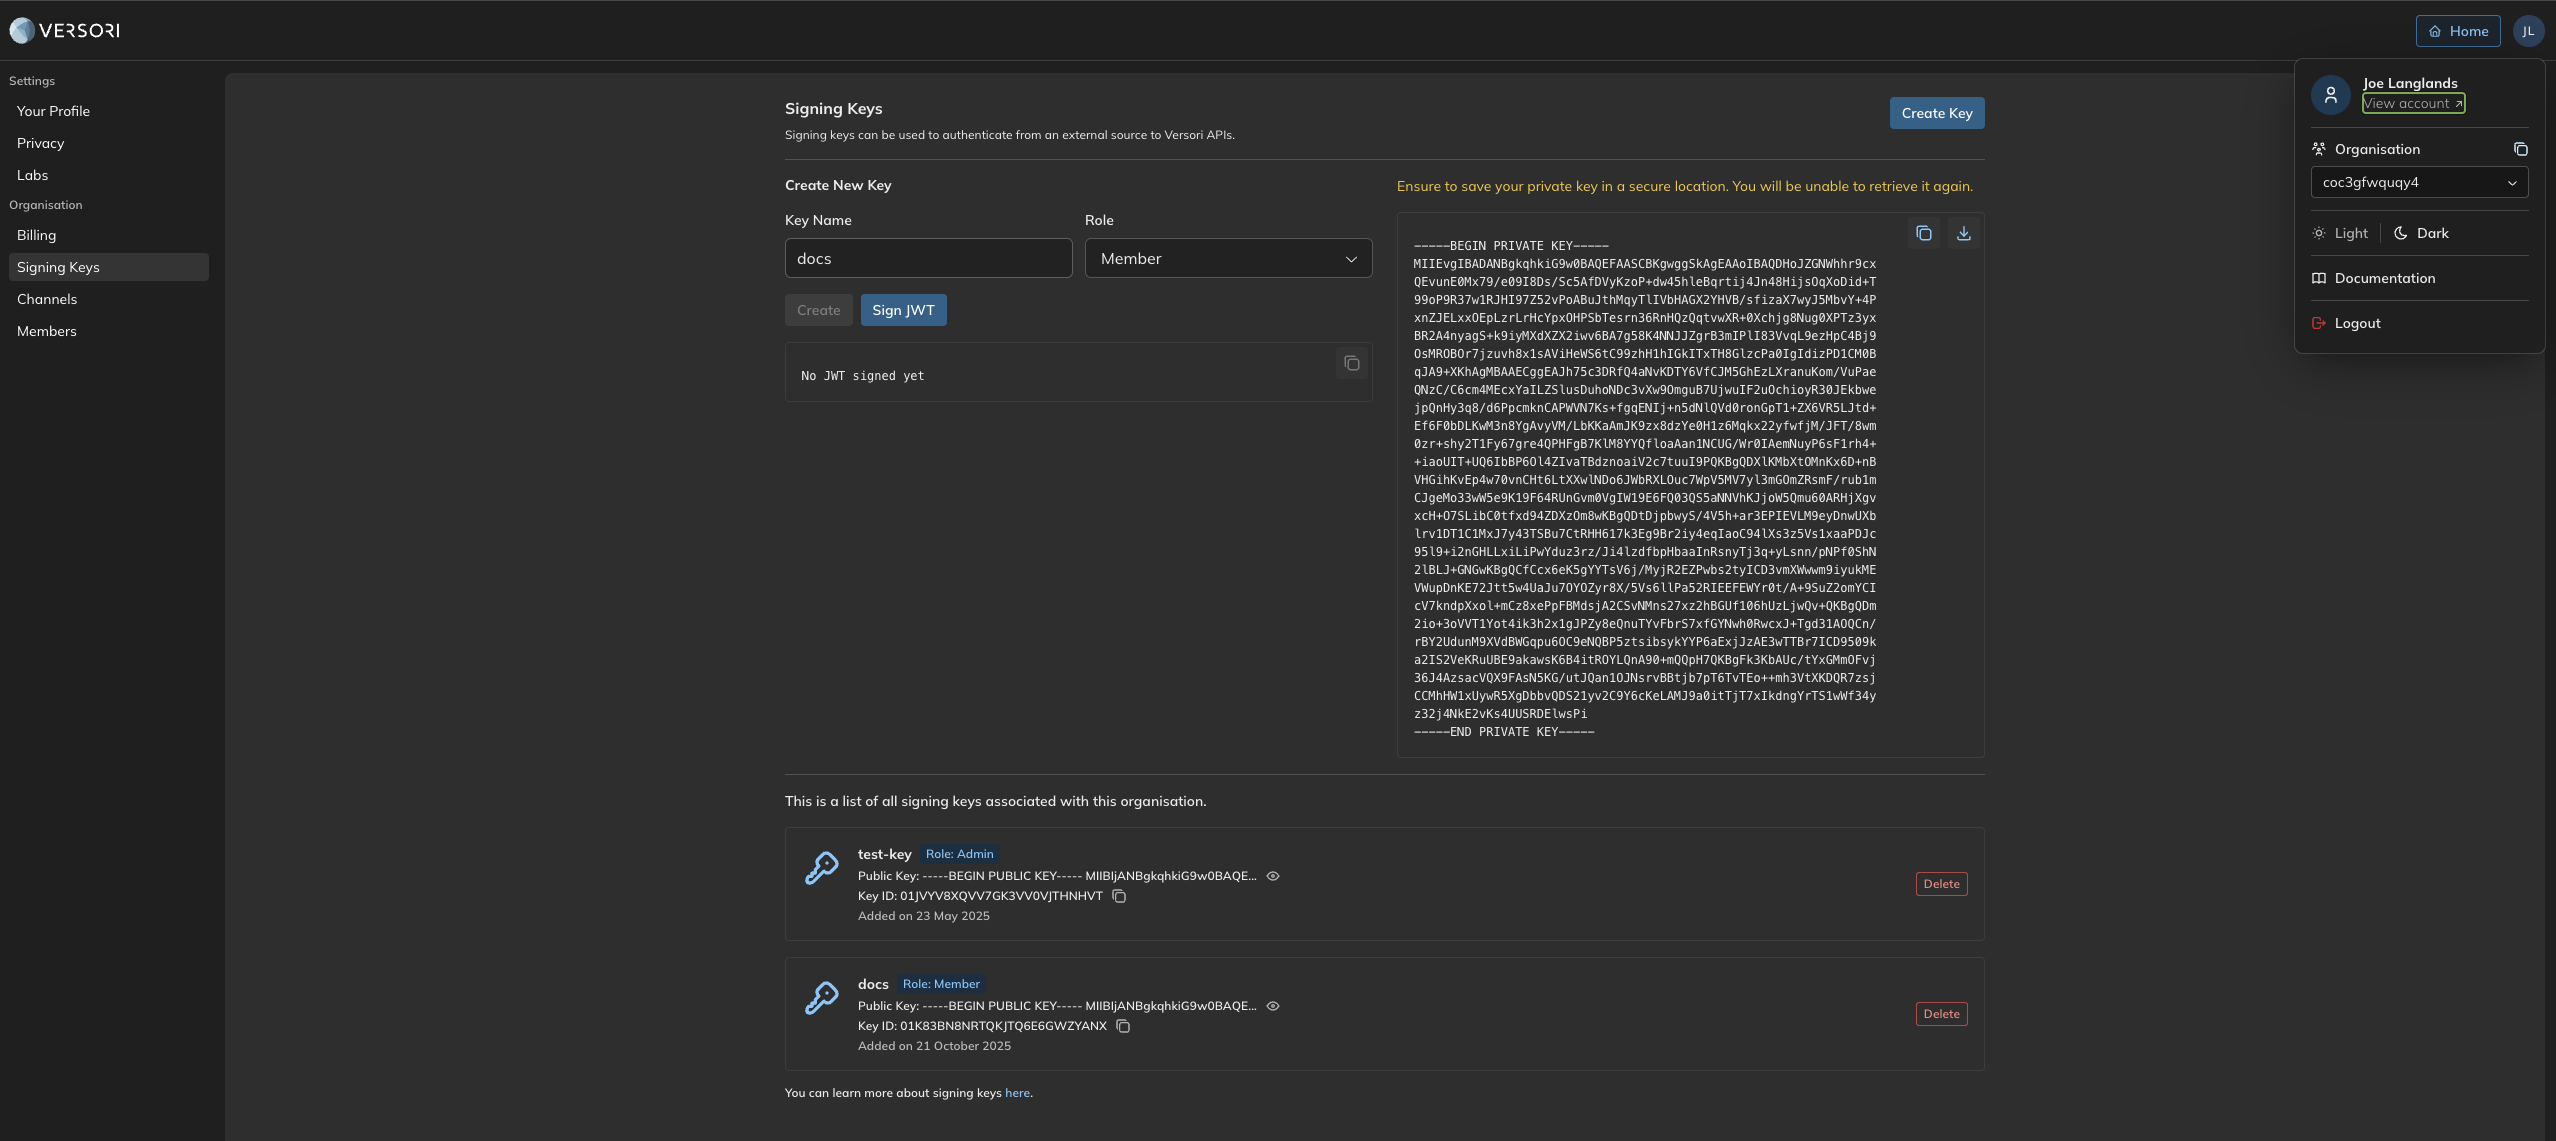
How to create a signing key

The keys are in PKCS #8 format. It is with this private key that your backend should use to sign JWTs for your end users when making requests to Versori APIs.

JWTs

When making calls to Versori APIs to create a user, activating users, manage connections etc, you need to sign a JWT with your organisations private key and make the subject your end users external ID. An example is given below in type script using the jose library.

import { importPKCS8, SignJWT } from 'jose';

const key = await importPKCS8(privateKey, 'RS256');

const ISSUER = `https://versori.com/sk/${signingkeyId}`;

const token = await new SignJWT({ sub: externalId })
    .setIssuer(ISSUER)
    .setIssuedAt()
    .setExpirationTime('1 hour')
    .setProtectedHeader({ alg: 'RS256' })
    .sign(key);

Then you can authenticate calls to Versori API’s by setting the Authorization header to a value of JWT <jwt-goes-here>, for example:

curl -X GET https://platform.versori.com/api/v2/o/<orgId>/users/<externalId>
-H "Authorization: JWT <jwt-goes-here>"

You can find your singingkeyId on the signing key page, shown above, to set the issuer claim.