> ## Documentation Index
> Fetch the complete documentation index at: https://docs.versori.com/llms.txt
> Use this file to discover all available pages before exploring further.
# Starting your plan
The first step in building an integration is to plan the scope, this includes:
* **Systems and auth**: Identify source/target systems and authentication methods.
* **Business requirements**: What are you trying to achieve?
* **Type of integration**: Is this a real-time integration, a batch job, a bidirectional data sync, and/or a
multi-tenant integration?
* **Data model and mappings**: List objects and fields you need, with examples and edge cases.
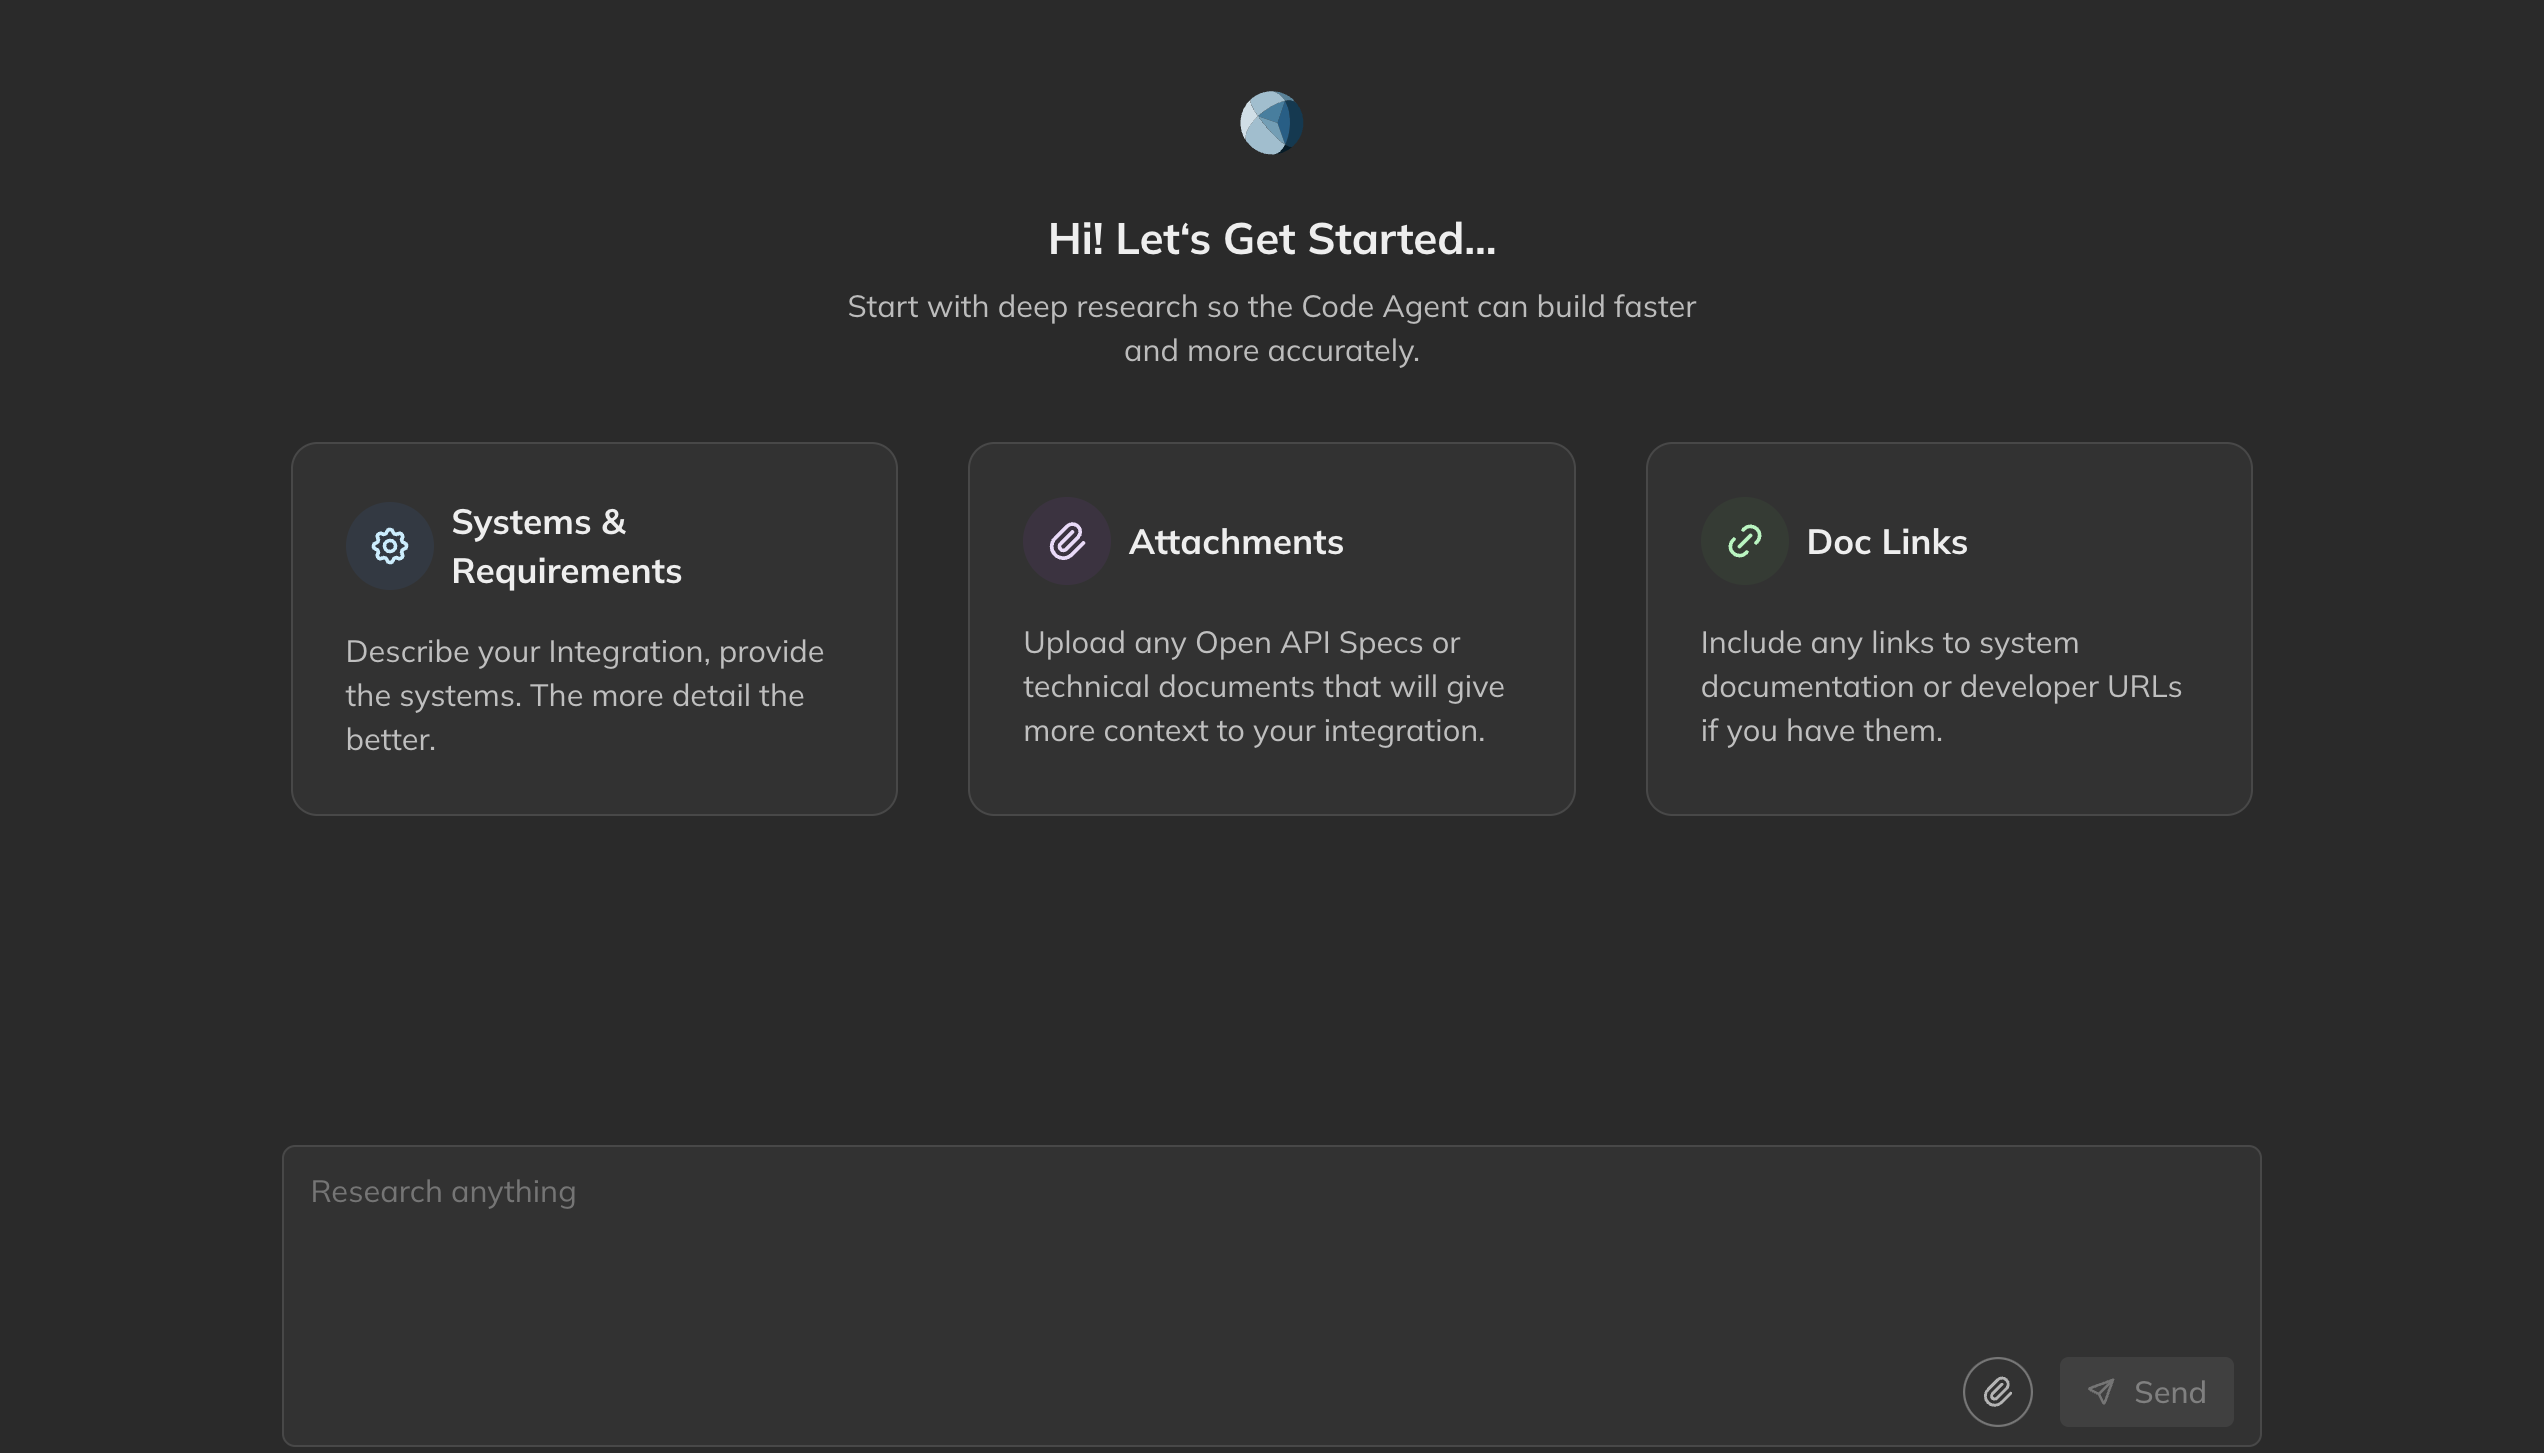
Users start by providing as much information about their integration as possible and uploading any attachments, this can
include screenshots, diagrams, PDF/Word documents, or even OpenAPI specifications.
 Once the details above are submitted, Versori uses AI to perform in-depth research of the requirements and provides a
detailed plan of how the integration will be implemented.
## Research agent
The research agent is an AI agent trained to perform research on integration requirements. The majority of the "Plan"
stage is conducted by the research agent, it is able to read through the information provided by the user and perform a
series of actions to identify the requirements of the integration including searching the web and internal knowledge
bases.
The research agent process is split into the following steps:
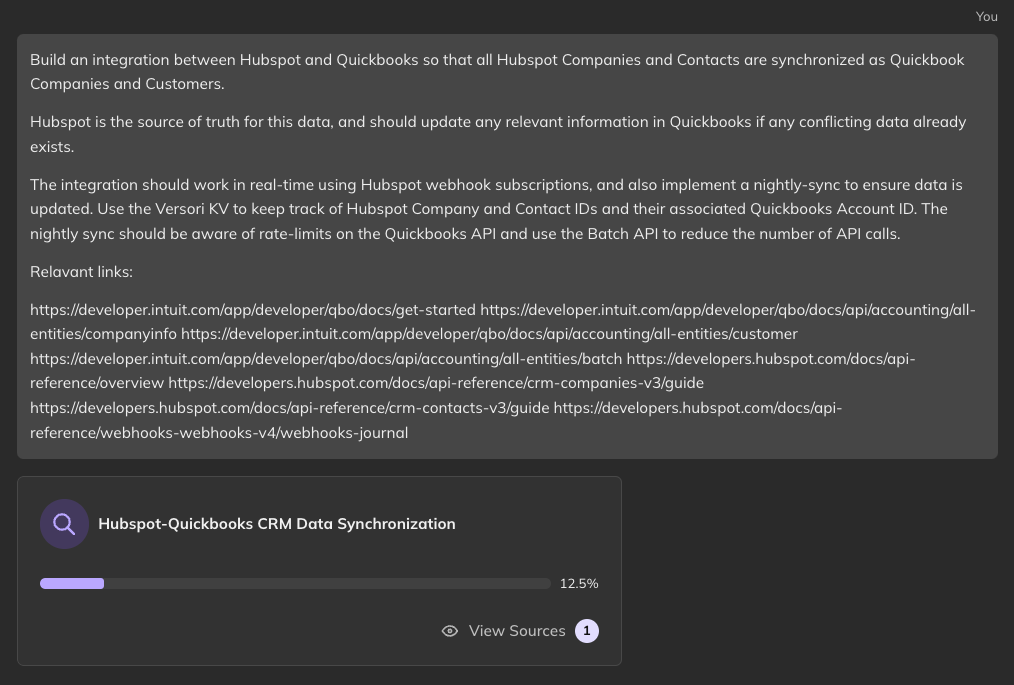
Versori analyses all the information provided by the user, and extracts all relevant information, including
scraping any URLs which may be included in the attachments or text provided by the user.
This data is then analysed to identify any gaps in information which need to be filled.
Additional web searches are performed to fill in any gaps in information, this may identify additional sources
which can be extracted and analysed in a loop until the agent is satisfied that all information has been
gathered.
Once the details above are submitted, Versori uses AI to perform in-depth research of the requirements and provides a
detailed plan of how the integration will be implemented.
## Research agent
The research agent is an AI agent trained to perform research on integration requirements. The majority of the "Plan"
stage is conducted by the research agent, it is able to read through the information provided by the user and perform a
series of actions to identify the requirements of the integration including searching the web and internal knowledge
bases.
The research agent process is split into the following steps:
Versori analyses all the information provided by the user, and extracts all relevant information, including
scraping any URLs which may be included in the attachments or text provided by the user.
This data is then analysed to identify any gaps in information which need to be filled.
Additional web searches are performed to fill in any gaps in information, this may identify additional sources
which can be extracted and analysed in a loop until the agent is satisfied that all information has been
gathered.
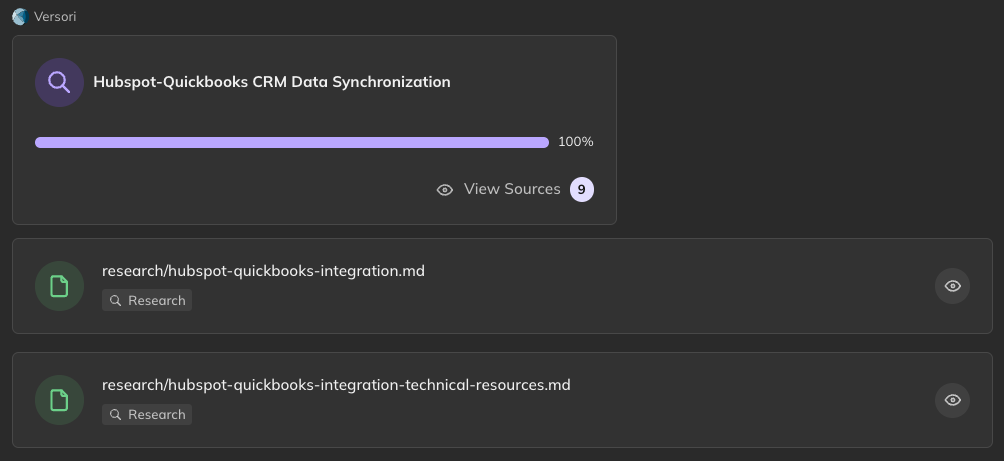
 Once the research agent has completed, a summary of the integration is produced and and outstanding questions
are presented to the user.
Here you can see the summary of the integration and a technical resources document. Review these documents to
ensure the proposed solution is correct and complete.
Once the research agent has completed, a summary of the integration is produced and and outstanding questions
are presented to the user.
Here you can see the summary of the integration and a technical resources document. Review these documents to
ensure the proposed solution is correct and complete.
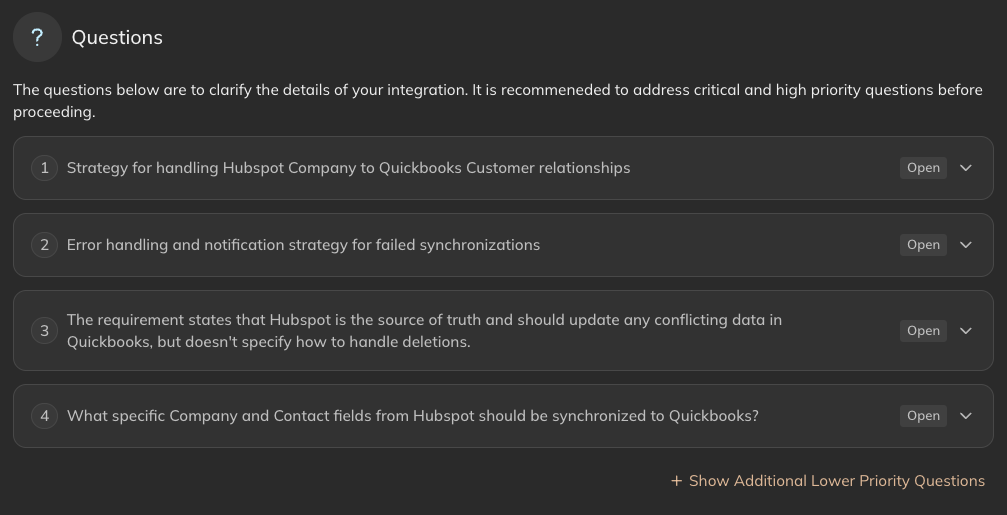
 The AI may also produce some additional questions which it has identified as important to the success of the
integration.
These questions vary in importance, some questions are highly recommended to be answered before continuing,
but other questions can be left blank and Versori will make assumptions based on the other information
gathered.
The AI may also produce some additional questions which it has identified as important to the success of the
integration.
These questions vary in importance, some questions are highly recommended to be answered before continuing,
but other questions can be left blank and Versori will make assumptions based on the other information
gathered.
 For more information on answering questions, see the [Questions](/latest/guides/getting-started/plan/questions) guide.
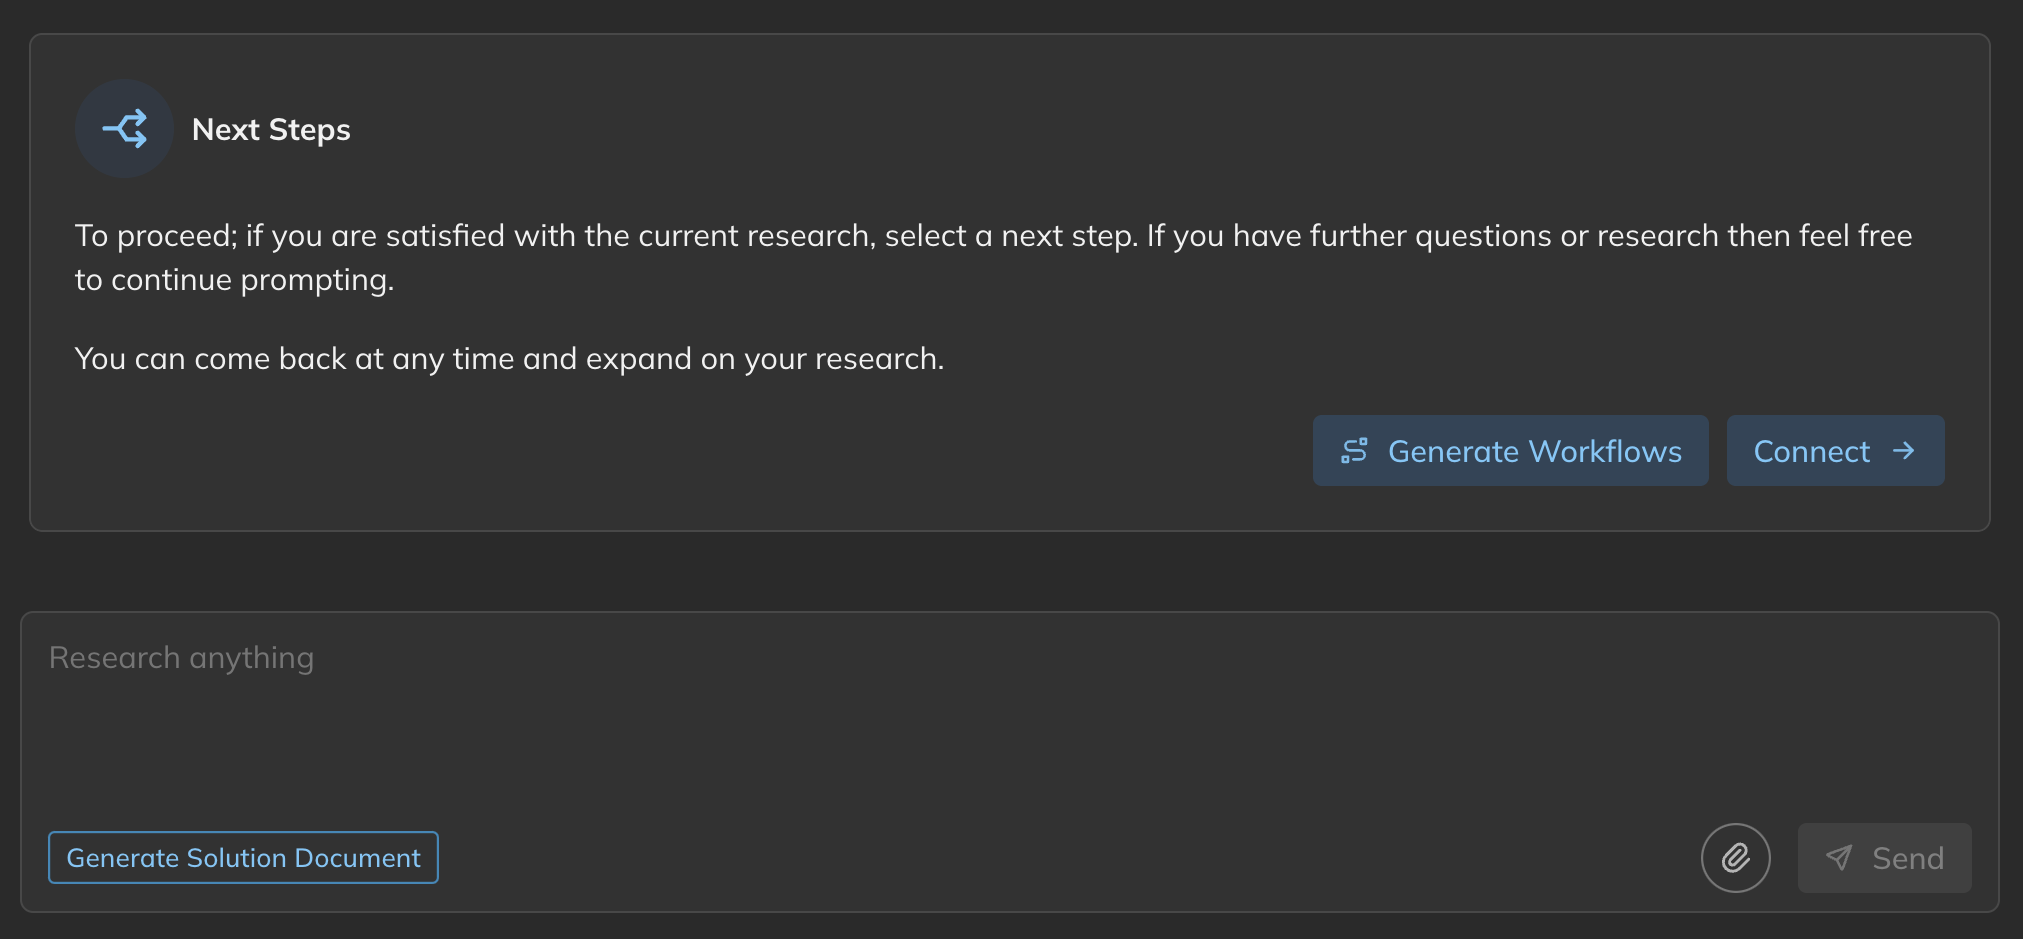
At this point, the user may choose next steps, either to start building the integration, or to refine the
requirements by answering the outstanding questions and/or prompting with more information.
For more information on answering questions, see the [Questions](/latest/guides/getting-started/plan/questions) guide.
At this point, the user may choose next steps, either to start building the integration, or to refine the
requirements by answering the outstanding questions and/or prompting with more information.
 ## Connect
It's possible the research stage has not identified all the systems which need to be connected, in this case you
must prompt the research agent to identify any additional systems, providing more information if necessary.
After the initial research step, you may notice the "Connect" tab has a badge denoting the number of Systems which have
been identified and requires configuration. The badge is only visible when the Connect tab requires attention, once the
systems are connected the badge will disappear.
## Connect
It's possible the research stage has not identified all the systems which need to be connected, in this case you
must prompt the research agent to identify any additional systems, providing more information if necessary.
After the initial research step, you may notice the "Connect" tab has a badge denoting the number of Systems which have
been identified and requires configuration. The badge is only visible when the Connect tab requires attention, once the
systems are connected the badge will disappear.
 Our [Connect](/latest/guides/getting-started/connect) guide covers how to connect your systems, and how to manage these
connections over time.
## Generate Workflows
Looking back to the "Next Steps" image above, there is also a call-to-action to "Generate Workflows", which will
generate separate requirements prompts for each of the workflows which have been identified for your integration.
These prompts can then be entered into the "Build" tab to start building the actual workflows.
Our [Build](/latest/guides/getting-started/build) guide covers the Build tab and its capabilities.
Our [Connect](/latest/guides/getting-started/connect) guide covers how to connect your systems, and how to manage these
connections over time.
## Generate Workflows
Looking back to the "Next Steps" image above, there is also a call-to-action to "Generate Workflows", which will
generate separate requirements prompts for each of the workflows which have been identified for your integration.
These prompts can then be entered into the "Build" tab to start building the actual workflows.
Our [Build](/latest/guides/getting-started/build) guide covers the Build tab and its capabilities.